Latest Articles


New machines. 25 years of Pegasus. Meet Trimax at SALTEX 2026.
02 November 2026

Sports Turf Agronomy Advice - November 2026
01 November 2026
More Articles
Ice melt and rock salt: planning safer winter access around your site

Keeping paths, entrances, parking areas and other access routes usable through icy weather is not simply a matter of spreading rock salt when temperatures fall. A good winter-access programme brings together weather monitoring, priority-route planning, suitable de-icing materials, appropriate application equipment and follow-up inspections.
The aim is to reduce winter access risks in a practical and proportionate way. Conditions can change quickly, so treatment should sit within a wider process of monitoring, inspection and further action where hazards remain.
Identify the routes and people at greatest risk
Begin by identifying which routes need to stay accessible during freezing conditions and where a slip or loss of vehicle control could have the greatest consequences.
For a grounds team, local contractor or person responsible for a school, sports club, business premises, estate or visitor site, this is usually more practical than trying to treat every square metre equally.
Priority areas may include:
- main pedestrian entrances and exits;
- steps, ramps and sloping paths;
- routes between car parks and buildings;
- staff, customer and visitor walkways;
- delivery and loading areas;
- vehicle entrances and access roads;
- areas used early in the morning or outside normal working hours;
- shaded locations where frost and ice tend to persist; and
- places where water regularly collects or drains across a route.
Focus on the routes people actually use
The Health and Safety Executive (HSE) highlights entrances, car parks, pedestrian walkways, slopes and shaded or wet areas as places that may need extra attention during icy weather. The same practical approach can also be useful around homes, larger gardens and private estates where regularly used paths, steps, drives or entrances need to remain accessible.
For workplaces and commercial premises, identifying and prioritising these routes also supports wider health and safety responsibilities to assess foreseeable risks and take reasonable steps to manage them. This includes duties under the Health and Safety at Work etc. Act 1974, the Management of Health and Safety at Work Regulations 1999 and, where visitors are involved, the Occupiers' Liability Act 1957.
Agreeing these priority areas in advance can also help clarify what needs to be monitored and treated, who is responsible for responding when conditions change, and how access should be managed across the site.
Create a simple winter route plan
Once the priority areas have been identified, turn them into a simple winter route plan. This does not need specialist software; a marked-up site plan, aerial image or straightforward sketch can provide a useful working reference.

| Priority | Area | Why it matters | Planned response |
|---|---|---|---|
| 1 | Main entrance and path | Highest pedestrian use | Inspect and treat before opening |
| 1 | Car park to building | Regular early-morning use | Inspect before staff or visitors arrive |
| 1 | Steps or ramp | Greater consequence if someone slips | Inspect carefully and treat as required |
| 2 | Loading or delivery area | Vehicle and pedestrian interaction | Monitor according to operating hours |
| 2 | Secondary entrance | Moderate use | Inspect after priority routes |
| 3 | Occasional path | Low use | Treat if required or temporarily restrict access |
Example only: priorities should reflect the way each site is used and where winter hazards are most likely to affect access.
The plan should also highlight areas that repeatedly cause problems. If water regularly drains, collects or runs across the same route and then freezes, addressing the underlying drainage or surface issue may provide a better long-term solution than simply applying more salt each time.
Likewise, where worn or muddy grassed routes contribute to poor winter access, Rubber grass mats and ground reinforcement can be looked at as an option for reinforcing frequently used areas.
Decide who monitors conditions and who responds
Once the routes are prioritised, decide who is responsible for monitoring conditions and acting when the forecast changes.
Before colder weather arrives, establish:
- who checks the forecast;
- who inspects the site;
- who decides whether treatment is required;
- who applies the material;
- who completes the follow-up inspection; and
- what happens overnight, at weekends or when the usual person is unavailable.
For a single property this may be straightforward, while grounds teams, site managers or contractors responsible for several areas may need a more structured approach so the highest-priority routes are dealt with first.
Weather forecasts provide the starting point, but air temperature alone should not be used as the only trigger. Surface temperatures can differ, particularly in exposed areas, frost pockets and permanently shaded routes.
Early-morning check: Temperatures often reach their lowest point around sunrise after surfaces have been losing heat through the night, so frost risk may be greatest around the start of the day even when the forecast air temperature is only just above freezing.
The Met Office uses road-surface temperature information for professional winter-maintenance forecasting because it is the surface itself that needs to be assessed for freezing risk. For most smaller sites, a reliable forecast combined with knowledge of local trouble spots and a physical inspection provides a practical basis for deciding when action is needed.
Compare rock salt and other de-icing products
There is no single ice melt or rock salt product that is automatically right for every site.
The choice should take account of:
- the surface being treated;
- expected weather and temperature;
- pedestrian or vehicle use;
- nearby turf and planting;
- cleanliness around entrances;
- storage arrangements;
- application equipment; and
- the manufacturer's current instructions and safety information.
Where rock salt fits
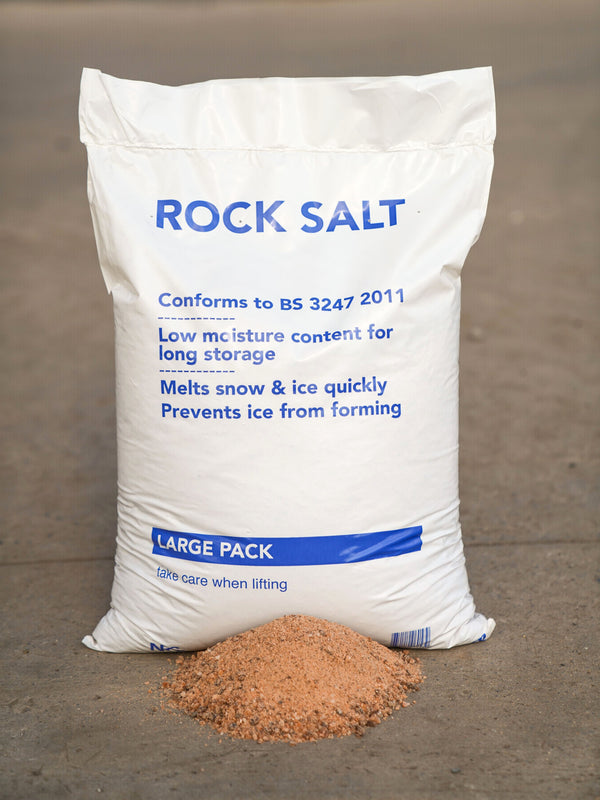
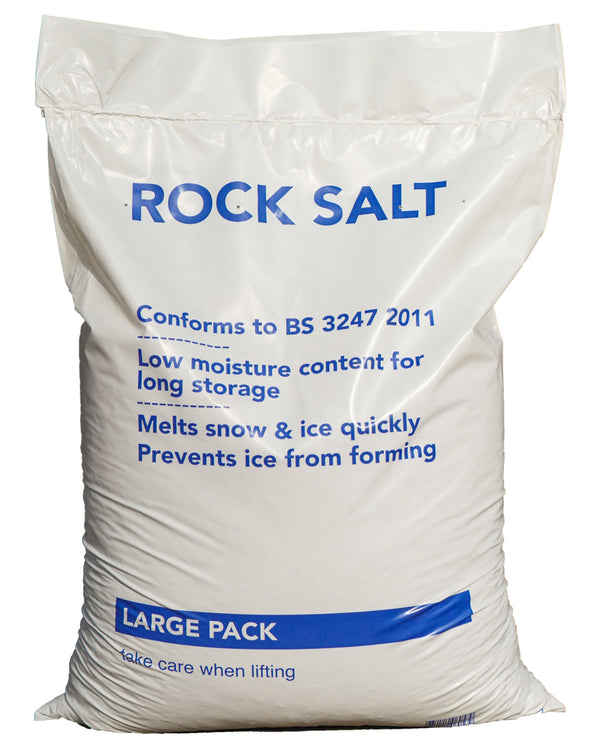
Rock salt remains a widely used choice for general winter treatment on paths, access roads and parking areas.
Brown Rock Salt for Ice & Snow is suitable for these types of external surfaces and can provide a straightforward option where the surrounding materials and environment are appropriate.
For larger areas or routinely treated access routes, rock salt grit is often a sensible starting point. White and brown rock salt do, however, differ in characteristics such as appearance, cleanliness and residue, so the best choice will depend on the site.
When a specialist ice melt may be useful
Around customer-facing entrances, steps and other more sensitive areas, a specialist ice melt may be worth considering where cleanliness, tracking and surface compatibility are particularly important.
For example, Magic Ice Melt 10kg is a free-flowing granular de-icer suitable for areas such as paths, drives, steps and car parks (also coming in a handy 15kg tub, and magic ice melt liquid formulation). It is biodegradable, non-corrosive to metals and fabrics, and designed to leave less residue than conventional rock salt.
These characteristics can make a specialist ice melt a useful choice for selected high-use or highly visible areas, rather than for routine treatment across an entire site.
Keep product claims in context. Terms such as fast acting, long lasting or effective down to a particular temperature should still be considered alongside the actual site conditions. Performance can vary with surface temperature, the condition of the ice, rainfall or meltwater, further snowfall, traffic, application rate and how evenly the material is spread.
Always use the current product specification and supplier instructions to guide application.
Check surface and environmental compatibility
A de-icer that is suitable for a road or car park may not be the right choice for every surface around a site.
Before treating unfamiliar or sensitive areas, check the manufacturer's guidance for materials such as concrete, decorative paving, stone, metalwork, thresholds and artificial surfaces.
Specialist sports surfaces may need a different approach, so only use de-icing products that are suitable for the specific surface construction.
It is also worth considering nearby turf, planting and drainage areas, particularly where de-icing products may be used repeatedly. Keep applications focused on the route being treated and avoid unnecessary material spreading onto adjacent areas.
Browse Pitchcare's Snow & Ice Control range for the current choice of de-icing products and winter-maintenance equipment.
Store materials and prepare equipment
Cold-weather treatment is much easier when the right materials and equipment are ready to use. Problems can quickly arise if stock has run low, bagged salt has become wet or the available spreader is unsuitable for the product being applied.
Before colder weather:
- check stock against the priority routes you expect to treat;
- keep bagged products dry and securely stored;
- inspect grit bins and replace depleted or contaminated material;
- check spreaders, scoops and snow-clearing equipment; and
- make sure anyone expected to use the equipment knows how to operate it correctly.
For short paths, steps and entrances, controlled manual application or a suitable handheld applicator may be sufficient.
Longer walkways, car parks and sites that need regular treatment may benefit from pedestrian application equipment, helping to make coverage quicker and more consistent.
Check the spreader is suitable for the material
Not every seed or fertiliser spreader is suitable for rock salt.
Rock salt is relatively heavy and can be corrosive, so some general-purpose spreaders are not designed to handle it. Where salt application is a regular part of winter maintenance, equipment intended for de-icing materials is usually the better choice.
Check the manufacturer's compatibility guidance before use, then clean and maintain the spreader afterwards in line with the instructions.
Apply according to conditions and instructions
There is no single application rate that will suit every de-icing product, surface or weather condition.
How much material is needed will depend on the product being used, the condition of the surface, temperature, whether snow or ice is already present, and the manufacturer's instructions.
Where possible, treatment is best timed before frost, ice or snow develops, using the forecast and site conditions to guide the decision. This is often referred to as pre-treatment or anti-icing.
If frost or ice has already formed, de-icing becomes a reactive treatment and may take longer to work, particularly where snow has compacted or ice has bonded firmly to the surface.
Timing matters too. Heavy rain can wash material away before temperatures fall, so look at the wider forecast rather than temperature alone.
Before treating
Avoid over-applying. Using more material does not necessarily improve the result and can increase cost, residue and unnecessary spread onto nearby surfaces or vegetation.
Record what was treated
Keeping a simple treatment record can be useful, particularly where several routes are being managed or winter maintenance forms part of a regular site or grounds service.
Include:
- date and time;
- site or route checked;
- weather or forecast conditions;
- condition of the surface;
- product and treatment used;
- who carried out the work; and
- when the next inspection is planned.
The record does not need to be complicated. A simple paper form or spreadsheet may be enough, as long as it provides a clear picture of the conditions found, the action taken and any follow-up required.
Example: forecast-led winter inspection and treatment log
16:00 — Main entrance
Forecast: Overnight frost forecast
Surface: Dry
Action: Pre-treatment applied to instructions
Follow-up: Check at 06:30
06:30 — Main entrance
Conditions: -1°C, dry
Surface: Clear with an isolated icy edge
Action: Local treatment
Follow-up: Recheck at 08:00
06:40 — Car park walkway
Conditions: -1°C, shaded
Surface: Frost present
Action: Treated
Follow-up: Recheck after opening
08:00 — Main entrance
Conditions: Temperature rising
Surface: Route clear
Action: No further treatment
Follow-up: Continue monitoring
Example only: adapt the log to the site, forecast and service arrangements.
For contractors covering several premises, a consistent record also makes it easier to see what has been inspected, treated and scheduled for another visit.
Inspect again and manage remaining hazards
Applying rock salt or ice melt is only one part of managing winter access. Conditions can change after treatment as temperatures fall, further snow or freezing rain develops, water runs onto the route, or de-icing material is displaced by pedestrians and vehicles.
Priority areas should therefore be checked again according to the weather conditions and how the site is being used.
Look for:
- areas that may have been missed or need further treatment;
- compacted snow or ice that remains;
- signs of refreezing;
- water collecting or running across paths;
- shaded areas that are still frozen;
- steps and slopes where conditions may differ from surrounding areas; and
- salt or ice melt that has been displaced.
The aim is to reduce and manage risk rather than assume a route is safe simply because it has been treated.
What if a hazard remains?
Where a hazard remains after treatment, further steps may be needed to manage access safely. Depending on the site and conditions, this could include:
- directing people onto a treated route;
- temporarily restricting access;
- using barriers;
- providing an alternative entrance; or
- using appropriate warning signs while further action is taken.
Warning signs can be useful, but they should support rather than replace practical measures to reduce the risk.
This is also relevant where visitors use the premises. Under the Occupiers' Liability Act 1957, a warning does not automatically remove an occupier's responsibility; it needs to be appropriate to the circumstances and sufficient to help visitors remain reasonably safe.
Keep the follow-up record simple
After each inspection, note:
- the time of the check;
- the conditions found;
- whether further treatment was needed;
- any hazards that remained; and
- whether barriers, signs or access restrictions were used.
The purpose of the record is not simply to create paperwork, but to build a clear picture of how conditions changed and how the site was managed in response.
It can also help improve future planning. If one path regularly freezes first, needs repeated treatment or carries more foot traffic than expected, it may need to move higher up the priority list for the next cold spell.
A good next step: identify the routes that matter most, check your de-icing stock and application equipment, and make sure everyone involved knows when to inspect, when to act and when to check again.
For suitable de-icing products and application equipment, browse the Pitchcare Snow & Ice Control range.

Related Products