Latest Guides


Autumn Bowling Green Renovation: A Step-by-Step Guide
02 September 2026


Drought-Stressed Sports Turf? How to Help Your Pitch Recover This Autumn
02 September 2026

Autumn Bowling Green Renovation: A Step-by-Step Guide

Autumn is one of the most important periods in the bowling green maintenance calendar.
After a season of mowing, rolling, foot traffic and play, a green can be left with thin areas, worn rink ends, compaction and a build-up of organic matter. Renovation gives the turf an opportunity to recover while soil temperatures are still suitable for grass seed germination and establishment.
For most UK bowling clubs, the main renovation period is late August through September, depending on the playing calendar and local conditions. The key is to start as soon as practical after the playing season rather than delaying work until colder weather arrives.
A typical autumn bowling green renovation combines scarification, aeration, overseeding, topdressing and appropriate nutrition with the use of fertilisers. However, the amount of work required should always be based on the condition of the green rather than repeating the same programme every year.
Step 1: Assess the bowling green
Before hiring machinery or ordering materials, inspect the green and decide what actually needs correcting.
Look particularly at:
- grass cover and worn rink ends
- thatch and organic matter
- compaction and rooting
- drainage and moisture
- surface levels
- moss or disease damage
- unwanted or undesirable grass species
Taking a small soil profile from several parts of the green can be particularly useful. It allows you to see rooting depth, layers of organic matter and any obvious problems within the upper rootzone.
This condition-led approach is important. Renovation should solve identifiable problems rather than simply following a standard annual routine.
Consider a soil test
Autumn is also a good opportunity to check soil nutrient levels before choosing a fertiliser.
A basic soil analysis can assess:
- pH
- phosphate
- potassium
- magnesium
Pitchcare's PWS Basic Soil Chemical Analysis provides these measurements together with guidance on interpreting the results.
Testing can help clubs avoid unnecessary fertiliser applications and make better use of their often limited maintenance budget.
Step 2: Mow before renovation
Give the bowling green a clean cut before carrying out major renovation work.
The aim is to remove excess leaf growth so scarifiers, aerators and seeding equipment can work effectively. Avoid scalping the surface or suddenly reducing the mowing height.
Following renovation, mowing height should gradually move towards winter levels as growth slows.
For many UK bowling greens, a winter cutting height of around 8–10 mm is a useful guide, although this should be adjusted according to turf condition and growth.
During establishment, always allow new seedlings to develop sufficiently before mowing and avoid removing too much leaf in a single cut.
Step 3: Scarify the bowling green
Scarification removes dead material and excessive organic matter from around the base of the grass plants.
Too much thatch can contribute to:
- a soft or spongy surface
- shallow rooting
- poor movement of water and air
- increased moss pressure
- inconsistent playing characteristics
The amount of scarification required depends on the condition of the green.
A relatively healthy surface may only need controlled passes in different directions. A green with a substantial organic matter problem may require a longer-term programme rather than attempting to remove everything in one renovation.
For an amateur greenkeeper, the important principle is:
Remove the organic matter that needs removing without unnecessarily weakening the turf.
Start cautiously, carry out a test pass where necessary and collect the arisings thoroughly before moving on to the next operation.

Step 4: Aerate the soil
Bowling greens experience repeated mowing, rolling and foot traffic throughout the season. Over time, this can compact the soil and restrict the movement of air and water through the rootzone.
Aeration can help:
- relieve compaction
- improve water infiltration
- improve air movement
- encourage deeper rooting
- support turf recovery

Solid tining
For many greens, solid-tine aeration to approximately 100 mm provides a useful starting point during autumn renovation.
Solid tines create channels through the soil with relatively little surface disruption and are suitable for regular aeration where conditions allow.
Hollow tining
Hollow tining physically removes cores from the soil.
It can be useful where there is:
- significant compaction
- poor upper-rootzone material
- excessive organic matter
- a need to modify the soil profile
However, hollow tining is considerably more disruptive and should not automatically be carried out every autumn.
Where cores are removed, suitable topdressing will normally be required to refill the holes.
If the green has a serious soil-profile problem and you are unsure which form of aeration is appropriate, seeking technical advice, available from Pitchcare, before carrying out aggressive work can prevent unnecessary damage.
Check ground conditions
Do not aerate simply because machinery has been booked.
Avoid carrying out aggressive aeration when the soil is saturated or frozen. Working excessively wet soil can result in smearing rather than useful soil fracture.
Pitchcare also stocks Sarel Spiking Rollers, which can provide shallower, lower-disruption aeration between deeper operations.
Step 5: Overseed the bowling green
Scarification and aeration create opportunities for new grass plants to establish within the existing sward.
Choosing the right grass seed is therefore an important part of renovation.
A bowling green requires grasses capable of providing:
- a fine leaf
- good shoot density
- tolerance of close mowing
- good recovery
- an even and consistent playing surface
Traditional bowling green mixtures are commonly based around fine fescues and Browntop Bent. Fine-leaved perennial ryegrasses may also have a role where greater wear tolerance and faster recovery are required.

Which Pitchcare grass seed should you use?
| Requirement | Pitchcare grass seed | Best suited to |
|---|---|---|
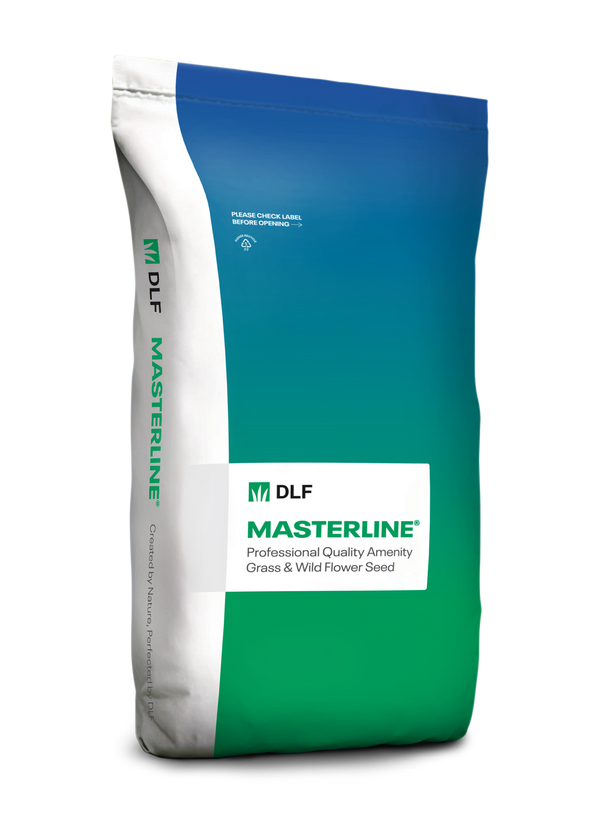
| Traditional fine bowling green | Masterline PM10 Traditional Green | Maintaining or introducing fine fescue and Browntop Bent |
| Increasing fine fescue content | CC Greens Grass Seed | Dense, fine-leaved close-mown turf |
| Higher wear and faster recovery | MM Supreme Ryegreen | Worn greens and high-traffic rink ends |
Good seed-to-soil contact matters
Whichever mixture is selected, good seed-to-soil contact is essential.
Seed sitting on top of dense vegetation has much less chance of establishing successfully.
Use suitable seeding equipment where available and aim for even distribution, paying particular attention to thin areas and heavily worn rink ends.
Step 6: Topdress the surface
Topdressing is an important part of bowling green renovation because it can:
- improve seed-to-soil contact
- protect new seed
- fill aeration holes
- smooth minor surface irregularities
- help maintain the upper rootzone
- support a firmer and more consistent playing surface
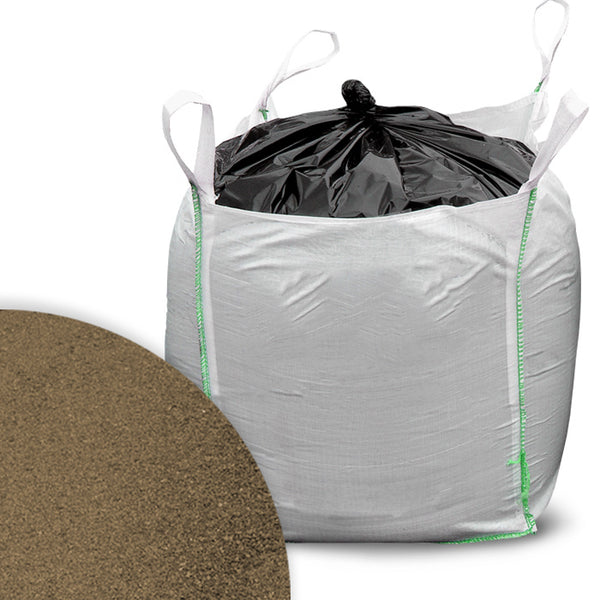
Pitchcare's 70/30 Fine Turf Top Dressing contains selected sports sand and graded topsoil and is suitable for fine turf surfaces including bowling greens.
General application rates are approximately:
- Light dressing: 2 kg/m2
- Medium dressing: 4 kg/m2
- Heavy dressing: 6 kg/m2
The amount required depends on the work carried out.
A lightly scarified and overseeded green will normally require less material than a green that has been heavily hollow tined.
The objective is to work the dressing into the turf canopy rather than burying the grass underneath it.
Apply the material as evenly as possible and use a suitable lute, brush or straight edge to distribute it across the surface.
Because surface levels are so important on a bowling green, avoid simply dragging large piles of material around the green without controlling the finished depth.

Step 7: Apply suitable autumn nutrition
Existing turf and new seedlings need sufficient nutrition to recover, but autumn feeding should not encourage excessive soft growth as temperatures fall.
Fertiliser choice should ideally be based on soil analysis and the condition of the green rather than simply repeating the previous year's programme.
One Pitchcare option for established fine turf is Absolute Advanced Legion 5-5-10 +6% Fe.
The formulation is suitable for fine turf and provides nitrogen, phosphorus and a higher proportion of potassium, together with iron.
Its fine granule size also helps achieve more even distribution on closely maintained surfaces.
A typical application rate is around 25–35 g/m², subject to the current product instructions and the requirements of the turf.
Does a bowling green need pre-seed fertiliser?
Not automatically.
Where soil analysis identifies a requirement, or where establishment conditions justify additional phosphorus, Absolute Premier 6-9-6 Pre-Seed Fertiliser may be suitable.
However, applying additional phosphorus every year without understanding existing soil levels is unnecessary.
For an amateur club, the simplest rule is:
Test where practical, choose nutrition appropriate to the season and apply it evenly with a correctly calibrated spreader.
Step 8: Water and protect the new grass
Autumn renovation does not finish once the seed and topdressing have been applied.
The following few weeks can determine whether overseeding succeeds.
After sowing:
- keep the seedbed consistently moist
- avoid repeatedly allowing the surface to dry out
- do not saturate or flood the green
- restrict unnecessary foot traffic
- monitor germination and establishment
- delay mowing until seedlings are sufficiently established
Newly sown seed will usually require close moisture management during the first two to three weeks, depending on grass species and weather conditions.
As seedlings establish, begin mowing carefully at a higher height and lower it gradually rather than immediately returning to summer playing height.
Autumn bowling green renovation checklist
For a straightforward club-level renovation, work through the green in this order:
- Inspect - Check turf cover, thatch, compaction, rooting, moisture and surface levels.
- Soil test - Establish whether nutrient correction is needed.
- Mow - Prepare the surface without scalping.
- Scarify - Remove unwanted organic material and collect the debris.
- Aerate - Use solid tines for routine aeration and hollow tines only where there is a clear reason.
- Overseed - Choose a mixture suited to the existing sward and level of wear.
- Topdress - Apply a compatible fine-turf dressing evenly across the green.
- Feed - Apply appropriate autumn nutrition where required.
- Water - Maintain moisture while the seed establishes.
- Protect - Maintain moisture while the seed establishes.
Avoid these common bowling green renovation mistakes
Even a well-planned renovation can be undermined by a few simple errors.
Avoid:
- waiting too late in autumn to overseed
- scarifying more aggressively than the surface requires
- hollow tining without identifying a reason for doing it
- applying excessive topdressing and burying the turf
- choosing grass seed purely because it germinates quickly
- applying fertiliser without considering soil nutrient levels
- neglecting the green once the renovation work is complete
The best renovation programme is the one that addresses the condition of your particular green.
Bowling green maintenance after renovation
Once establishment is underway, the green still requires attention through autumn and winter.
A simple winter maintenance programme should include:
- removing leaves and debris
- brushing or switching heavy dew where appropriate
- mowing when growth requires it
- maintaining approximately 8–10 mm rather than summer height
- aerating when soil conditions allow
- checking drainage outlets and ditches
- monitoring for turf disease
- avoiding unnecessary traffic on frozen or saturated turf
Keeping the surface clean and aerated helps protect the benefits of the autumn renovation programme and gives the turf a better chance of entering spring in healthy condition.
Pitchcare products for autumn bowling green renovation
| Task | Pitchcare option |
|---|---|
| Soil testing | PWS Basic Soil Chemical Analysis |
| Traditional fescue/bent overseeding | Masterline PM10 Traditional Green |
| Fine fescue overseeding | CC Greens Grass Seed |
| Higher-wear overseeding | MM Supreme Ryegreen |
| Top Dressing | 70/30 Fine Turf Top Dressing |
| Autumn nutrition | Absolute Advanced Legion 5-5-10 +6% Fe |
| Pre-seed nutrition where required | Absolute Premier 6-9-6 Pre-Seed |
| Shallow surface aeration | Sarel Spiking Roller |
Pitchcare also supplies scarification, aeration, seed spreading and topdressing equipment for clubs carrying out renovation work in-house.
Frequently asked questions
When should you renovate a bowling green?
For many UK bowling clubs, late August through September is the main autumn renovation period.
Carry out the work as soon as reasonably practical after the playing season while soil temperatures remain favourable for grass seed germination and recovery.
Should you scarify a bowling green every autumn?
Some scarification is commonly included in autumn renovation, but the intensity should depend on how much unwanted organic matter is present.
Do not automatically use the deepest or most aggressive machine setting.
How deep should you aerate a bowling green?
Solid tining to around 100 mm is a useful starting point for routine autumn aeration on many bowling greens.
Depth should ultimately be based on where compaction or other soil problems occur.
Should you hollow tine a bowling green?
Only where there is a reason to do so.
Hollow tining can help address compaction, poor upper-rootzone material and excessive organic matter, but it causes greater disruption than solid tining and should not automatically form part of every annual renovation.
What grass seed is best for a bowling green?
Fine fescues and Browntop Bent are widely used on traditional bowling greens because they can produce a dense, fine-leaved surface.
Fine-leaved perennial ryegrass may also be appropriate where faster establishment and greater wear tolerance are required.
The right choice depends on the existing sward and how the green is managed.
How much topdressing does a bowling green need?
As a general guide, Pitchcare's 70/30 Fine Turf Top Dressing (also available as a bulk bag) can be applied at approximately:
- 2kg/m2 for a light dressing
- 4kg/m2 for a medium dressing
- 6kg/m2 for a heavy dressing
The appropriate quantity depends on whether you are simply overseeding or also carrying out more disruptive work such as hollow coring.
What height should you cut a bowling green in winter?
Around 8–10mm is a useful guide for many UK bowling greens during winter.
Only mow when growth and ground conditions justify it.
Should you fertilise a bowling green after renovation?
Often, but the product and application rate should match the needs of the turf.
Avoid automatically applying large amounts of nitrogen or phosphorus. Soil testing can help determine what nutrients are actually required.
What if the bowling green has disease, moss or another serious problem?
Autumn renovation will not solve every turf problem.
Persistent disease, heavy moss, excessive organic matter, poor drainage, severe compaction or weak rooting may indicate an underlying issue that needs further investigation.
Cultural management should form the foundation of any programme, including appropriate mowing, aeration, moisture management, nutrition and surface cleanliness.
Where a plant protection product is being considered, professional users must always follow the current statutory product label, authorisation and relevant UK requirements. Product approvals and conditions of use can change, so treatments should not be based solely on an old maintenance programme or historic article.
If you are unsure how to tackle a problem on your bowling green, Pitchcare's BASIS-qualified technical team can provide practical advice on seed, nutrition, topdressing and turf management.
Give the green the best possible start for next season
Successful autumn bowling green renovation starts with understanding what the surface actually needs.
For most clubs, that means reducing unwanted organic matter, relieving compaction, overseeding with suitable fine-turf species, applying compatible topdressing and supporting establishment before colder conditions arrive.
Carrying out the right work at the right time provides a stronger foundation for a dense, healthy and consistent bowling surface when play returns in spring.

Related Products